
Appearance
Product variants
Some things you sell may come in more than one form. Like a t-shirt in small, medium and large, or a saree in four colours. Each of those is a variant — one exact version of the product, with its own price and its own stock.
You do not make a separate product for each one. You add the choices to a single product, and Biponix makes the variants for you.
Adding your first option
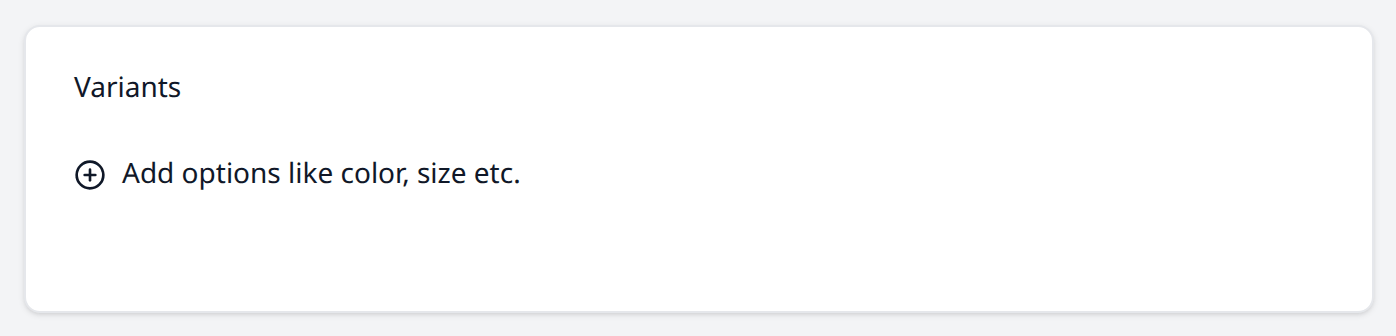
Scroll down the product form to Variants and press Add options like color, size etc.
Fill in two things:
- Option Name — the type of choice, such as Size or Colour.
- Option Values — the choices themselves. For example S, M, L and XL for a Size option. Type one, press Enter, and an empty box appears for the next.
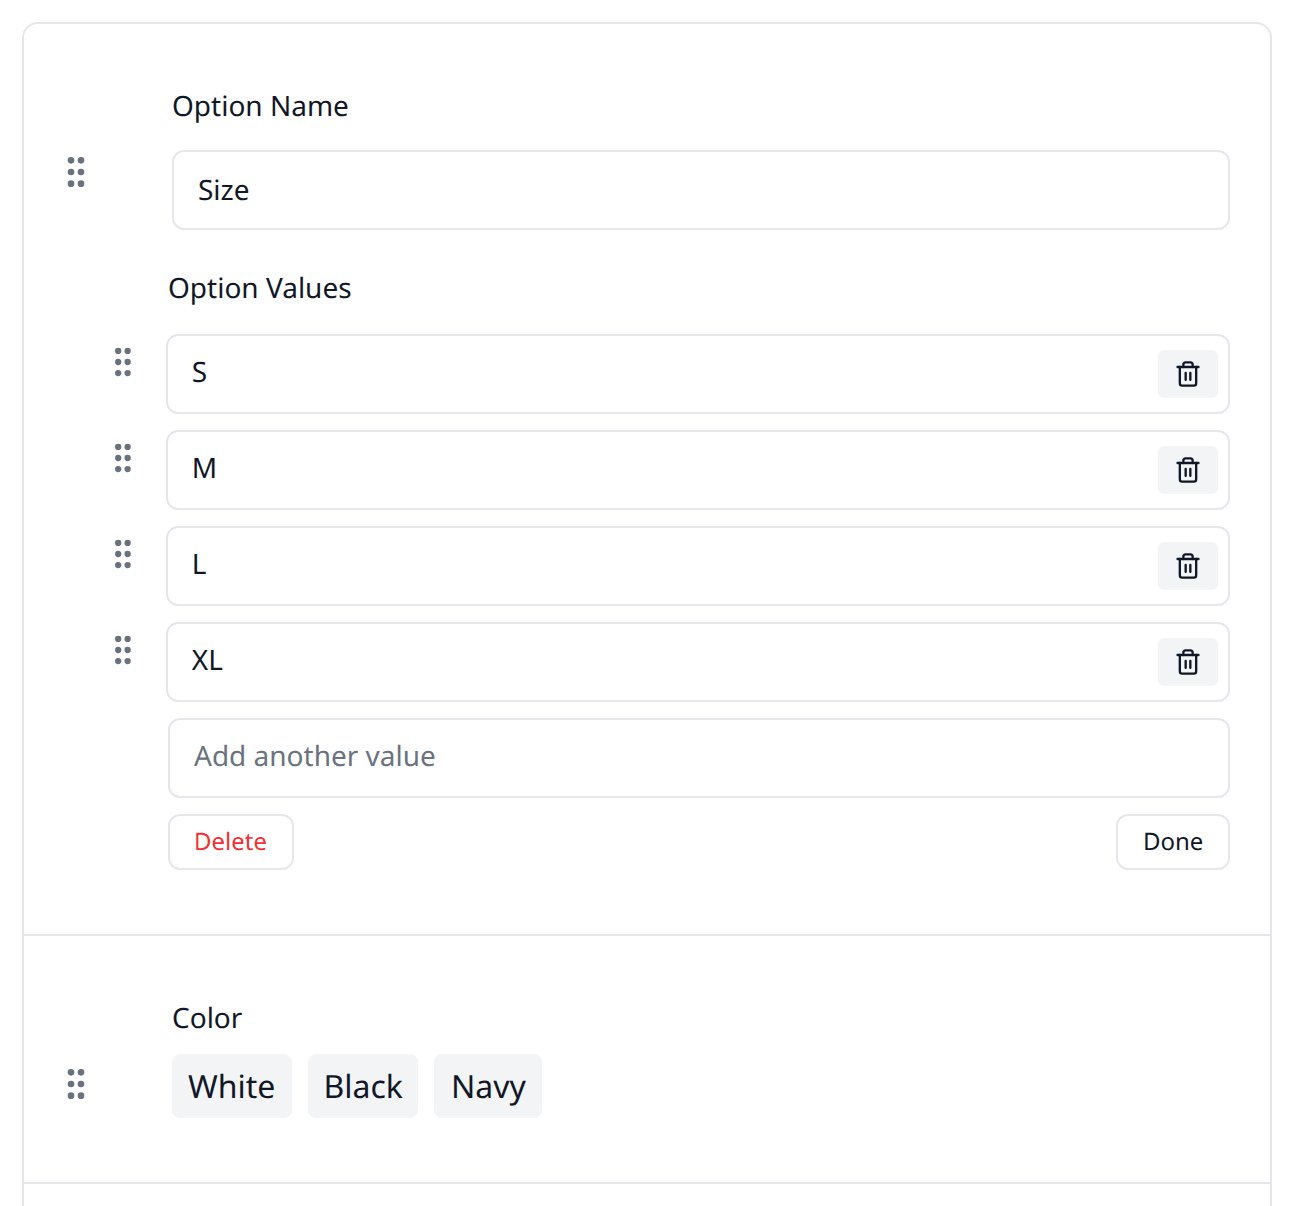
Press Done when you have finished. Delete removes the whole option.
You can add up to three options.
Reorder the choices the way you want them displayed
Drag the handle (⋮⋮) to the left of a value to move it. Shoppers see them in the order you set here.
Hint: Small, Medium, Large reads better than Large, Medium, Small.
The grid of variants
As soon as an option has a value, a grid appears below it and the Price, Available Quantity and Shipping boxes at the top of the form disappear. That is not a fault. Each variant now carries its own price and its own stock.
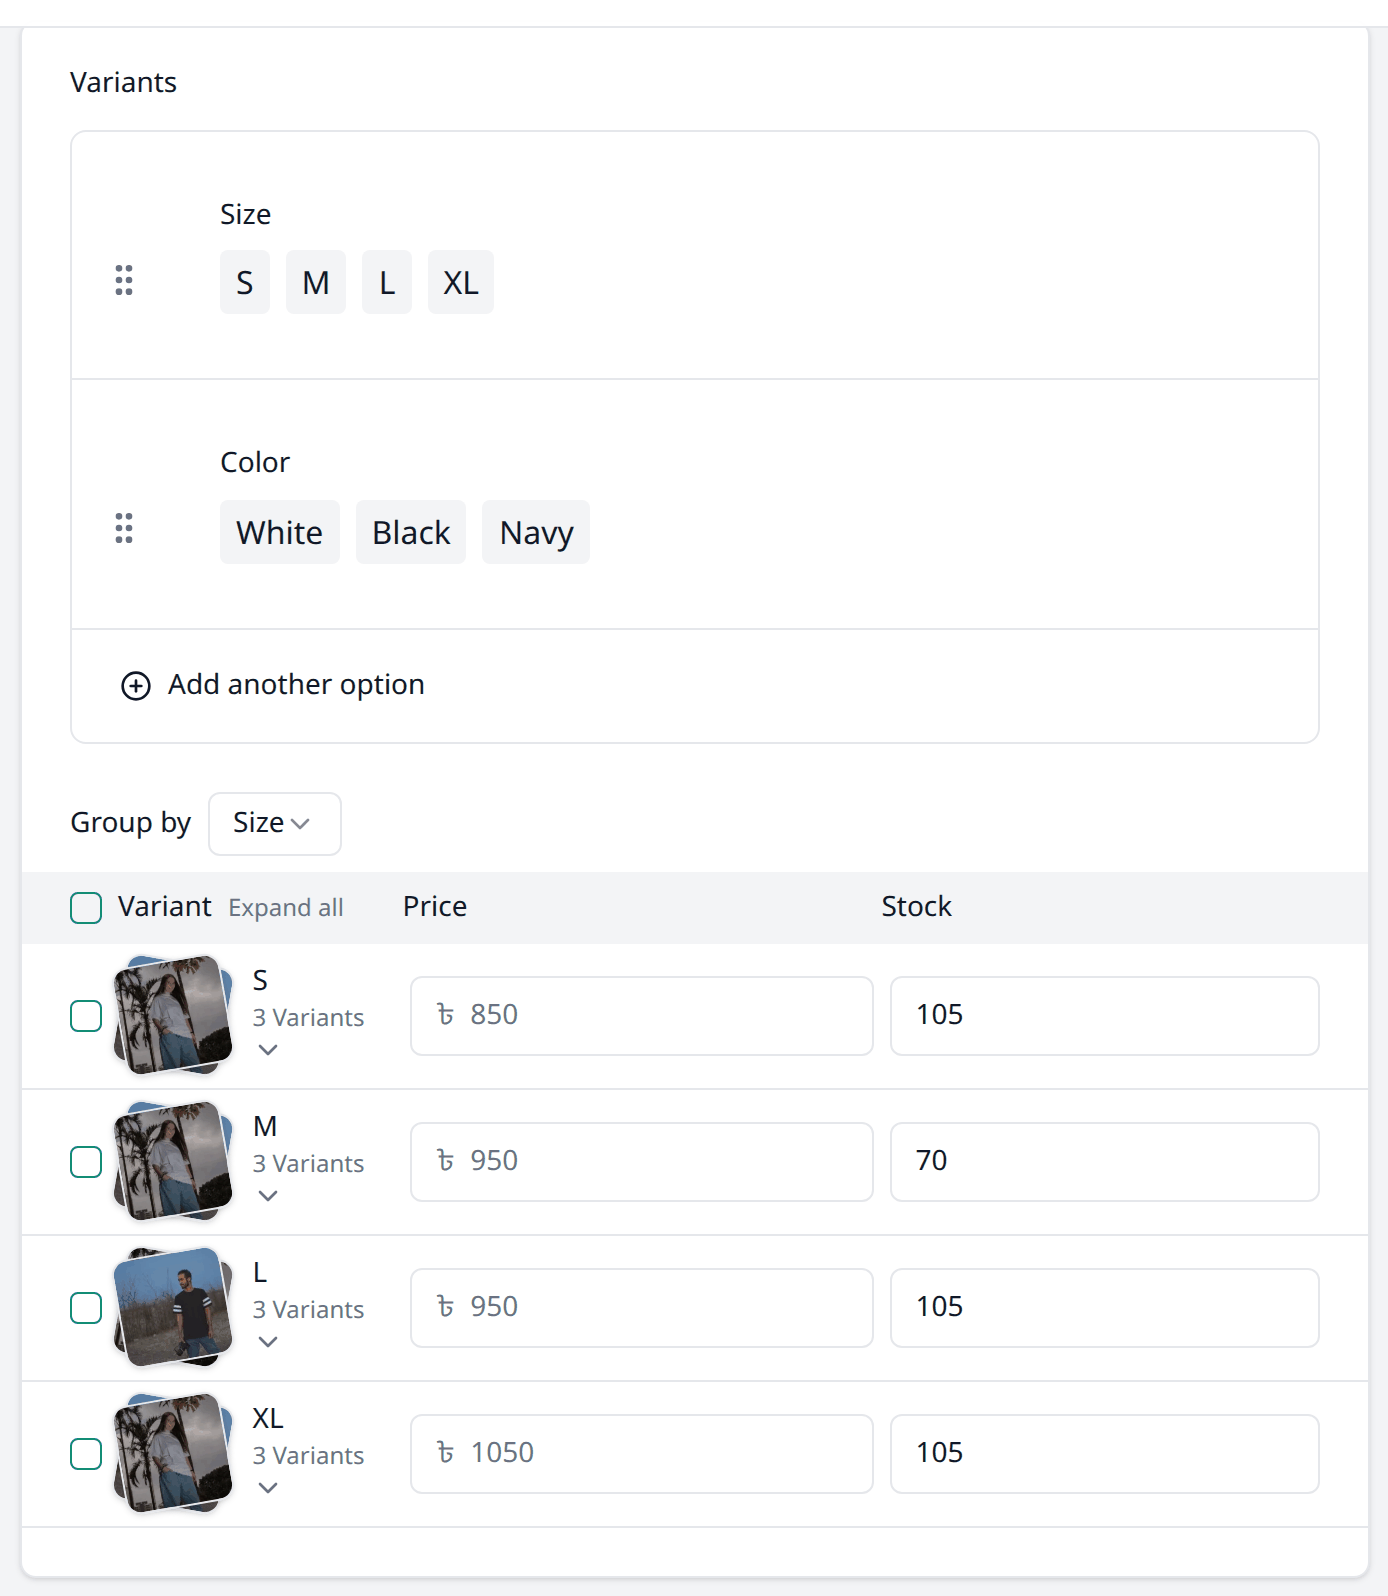
Biponix makes one variant for every combination. Four sizes and three colours gives you twelve (4 × 3 = 12).
If you have added two or three options, the grid groups them. Group by chooses which option the variants are grouped by; press the small arrow on a group row to open the variant rows inside it. Expand all opens every row at once.
Type straight into the Price and Stock boxes to set them.
Pro tip
Setting the price on a group row copies it down to every variant inside that row. So if all four colours of the Size M shirt cost the same, set it once on the group row M and that will set the price for all of the M variants.
Everything else about a variant
The grid holds the price and the stock. Everything else about a variant — its name, SKU, barcode, compare-at price, cost, weight and size — is set in a different place.
Tick the box beside the variants you want, then press Bulk edit.
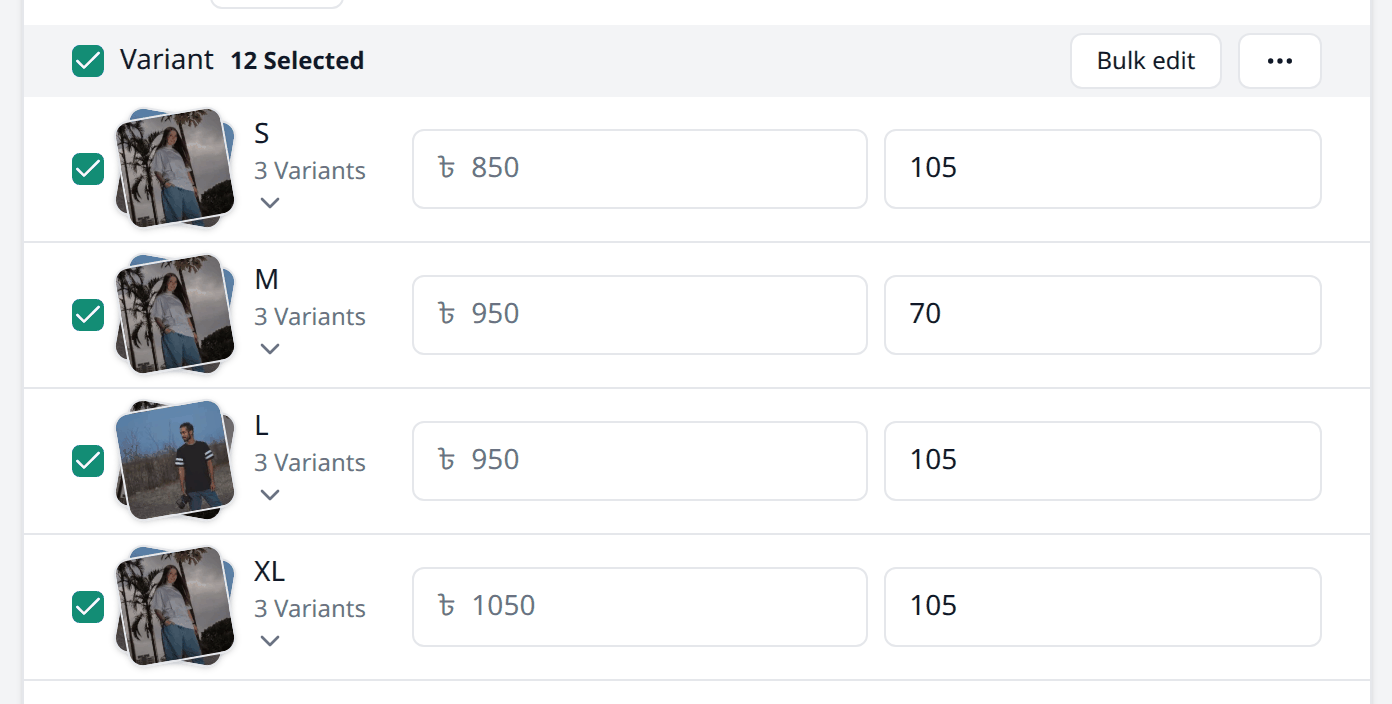
That opens Edit variants, a popup window with a row of buttons and nothing else: Pick one or more fields above to start editing.
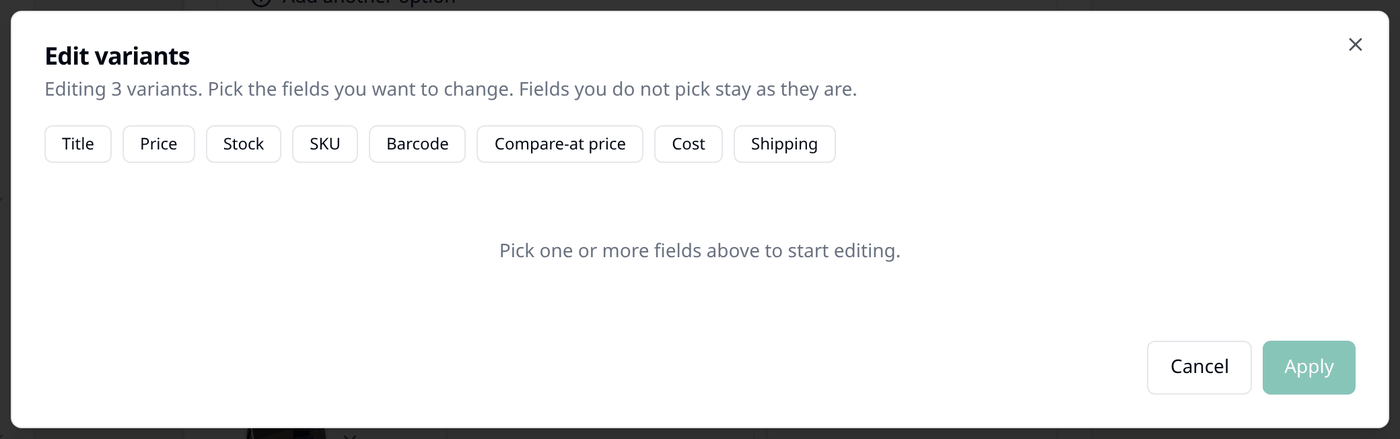
Press the fields you want to work on. A column appears for each one, with a row for every variant you ticked. Except Shipping, it is four fields in one: Weight, Length, Width and Height.
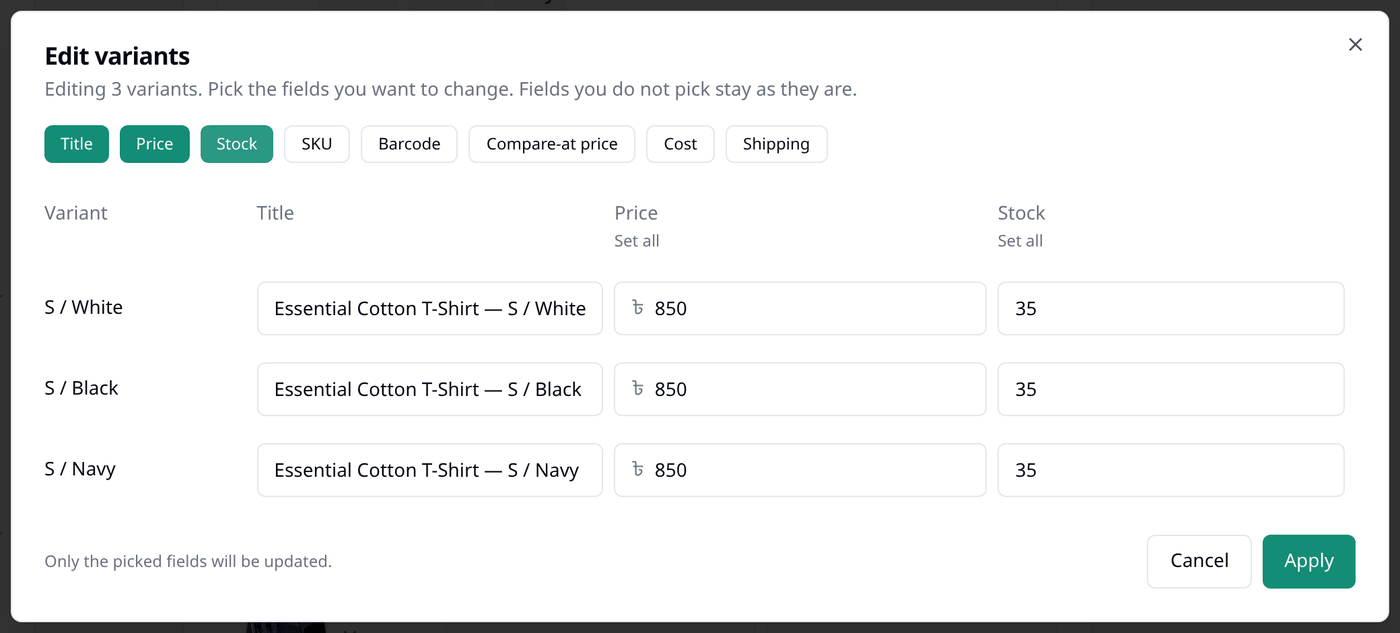
Set all, above a column, fills that one column for every row with the value you put in. Title, SKU and Barcode do not have it, because those belong to one exact item.
Press Apply when you are done, then Save the product.
Only what you pick is changed
Fields you do not open are left exactly as they were. However for a field you did open, an empty box means an empty value. Clearing a price clears it.
Giving a variant its own name
You can give each variant their own name. Press Title in the Edit variants window, which will open the title boxes for each variant you ticked. You can set their names in here.
Leave it empty and Biponix falls back to naming the variant after its choices, so nothing is ever nameless.
Pictures for each variant
Each row in the grid has a small picture slot. A picture you select here is displayed when a shopper picks that variant, so the red saree shows the red one. Setting one on a group row gives it to every variant inside that row, the same way a price does.
These do not have to be among the five pictures on the product itself. Whatever you add here joins the product's pictures on your storefront.
What a shopper sees
On your storefront the product page shows a row of buttons for each option — S, M, L, XL. Picking one updates the price, the picture and the stock for that variant, which can then be added to the cart.
Variants that are sold out stay on screen as disabled. A shopper cannot pick those, but they can see that you normally stock them.
The buttons show words, not colours
A colour option shows the word "Red", not a red square. Naming your colours clearly is worth the small effort.
Changing options later
This is the part to read carefully, because it is easy to lose work here.
Biponix keeps track of each variant by its exact choices. Change those choices and it no longer recognises the variant.
Renaming loses the prices and stock behind it
Renaming a value — M to Medium — empties that variant. Its price, stock, SKU, barcode and picture are all cleared, and nothing warns you first.
Renaming an option, or deleting one option when you have more than one, empties the whole grid.
If you need a different name, expect to fill the prices and stock in again afterwards.
These are safe:
- Adding another value. Everything already there is untouched.
- Removing one value. Only that variant goes; the rest keep their prices and stock.
- Dragging options or values into a different order.
Pro tip
If you have made changes you did not intend to make, simply refresh or leave the page. No changes are kept until you press Save.
Going back to a single price
Delete every option and the product becomes an ordinary one again. Price, Available Quantity and Shipping come back, filled in from the first variant in the grid.
What next
Inventory is next: one screen showing what is left of every variant you sell.