
Appearance
Media Library
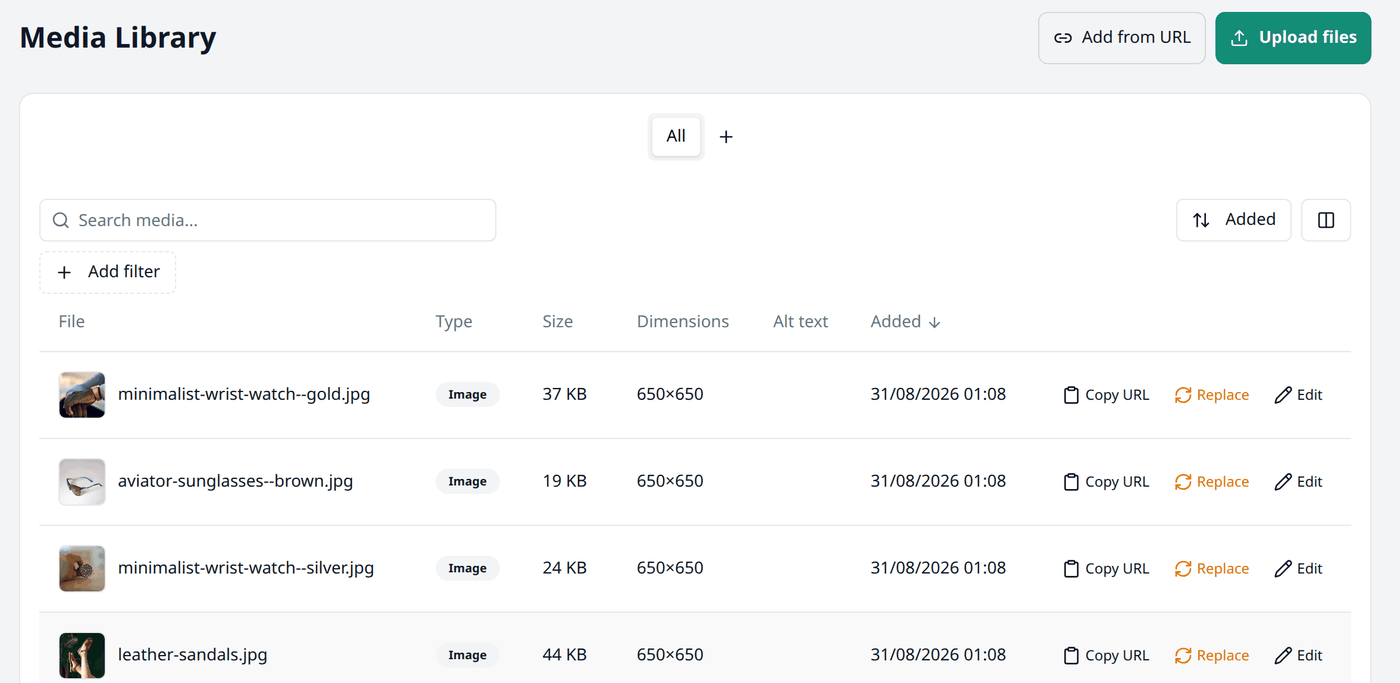
Your Media Library holds every media file (picture and video) you have added throughout your shop — on products, categories, pages, and your theme. Open Media Library from the menu to see every file in your shop.
The list
| Column | Description |
|---|---|
| File | The file name, along with its thumbnail |
| Type | The media type — Image or External video |
| Size | How large the file is |
| Dimensions | The width and height in pixels |
| Alt text | The alt text you have written for it, if anything |
| Added | When you added it |
Search and filters
This list works the same way as every other list in your dashboard. Working with lists explains searching, filtering, sorting, columns and views in full.
Search helps you find a file by its file name.
Here are the available filters for this screen:
- Type — shows only Image or External video files.
- Status — filter by whether the file is Uploaded, Processing, Ready, or Failed.
What each status means
Uploaded is uploaded to Biponix but not ready to use yet. Processing means Biponix is getting it ready for use. Ready can be used anywhere in your shop. Failed did not get through the process — press Replace to try again, or delete it.
Adding a file
You can add a file two ways:
- Upload files — choose one or more pictures from your device storage. Biponix accepts JPEG, PNG, GIF and WEBP pictures, up to 20MB each.
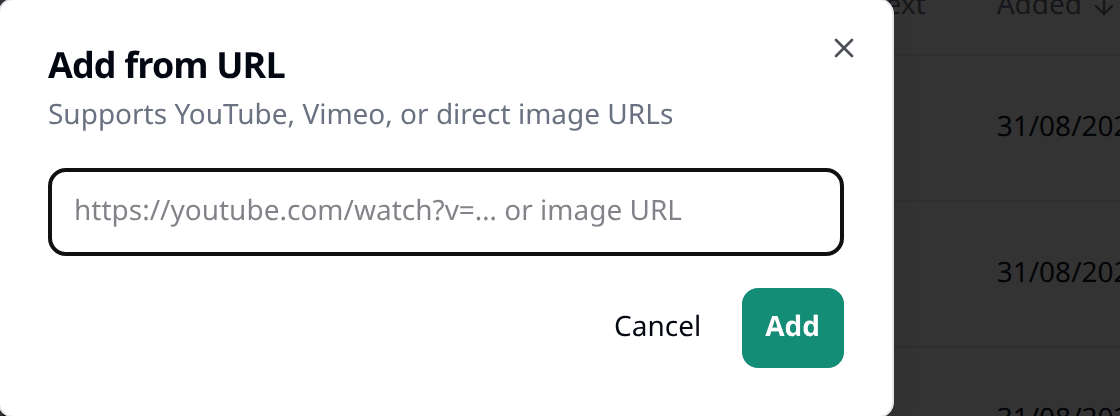
- Add from URL — paste a web address. This works for a direct picture link, or a YouTube or Vimeo video link.
Editing a file
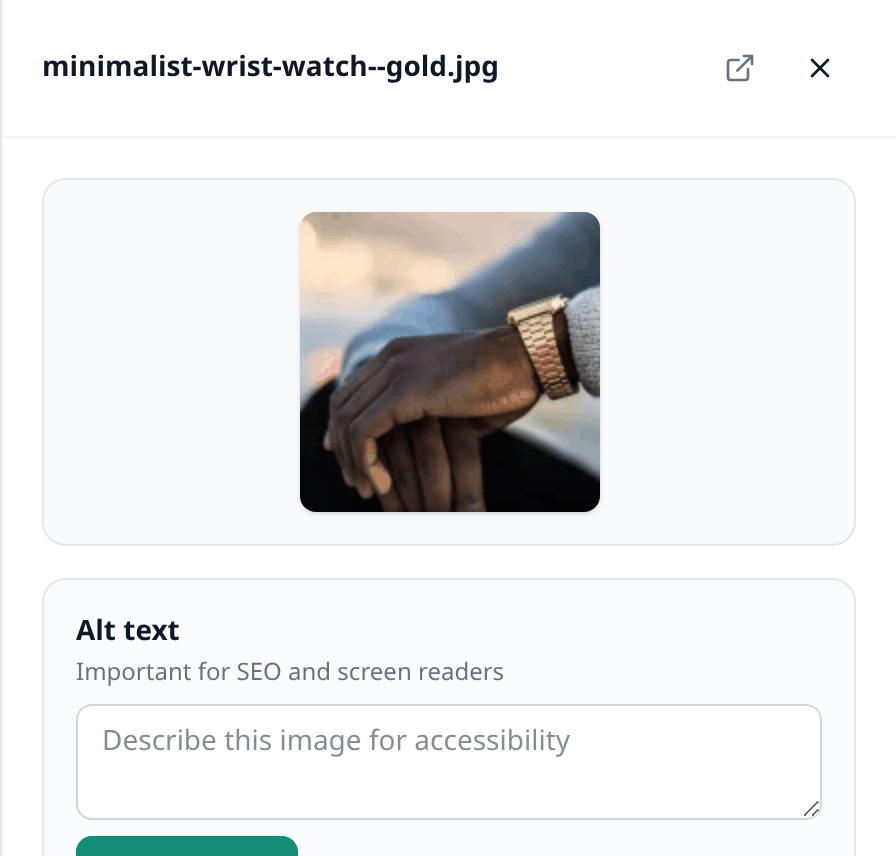
Press Edit on a file to open it. It shows a preview and its details — the same information as the list above — plus two extra things:
- Alt text — description of the file for anyone using a screen reader, and for search engines. It is optional, but worth adding to your important pictures.
- Used in — everywhere the file is currently used.
Replacing and removing a file
- Replace — upload a new picture in its place. It takes the old one's place everywhere it was used, so you do not need to update the product or page yourself.
- Delete removes a file for good. If it is currently used anywhere in your shop, the button is disabled — remove it from wherever it is used first, then come back to delete it.
Choosing a file elsewhere in your shop
Wherever you add a file — a product's gallery, your brand logo, a file inside the Theme editor — the same window opens, with the same Upload files and Add from URL options.
That window only shows your newest files
If you are looking for an older picture and cannot find it there, come back to Media Library, which holds everything.