
Appearance
Menus
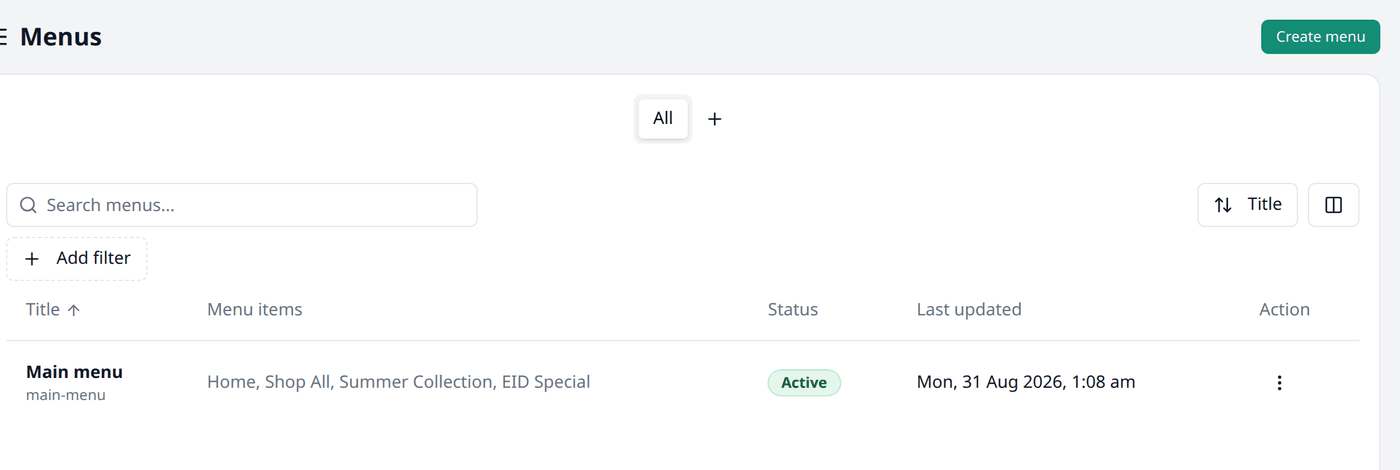
Menus is where you build the navigation links that shoppers use to move around your storefront — Home, Shop All, a collection, and so on. Open Menus from your dashboard's menu to see the ones in your shop.
The list
| Column | Description |
|---|---|
| Title | The menu's name |
| Menu items | A quick view of what is inside |
| Status | Whether it is active or not |
| Last updated | When you last changed it |
| Action | Edit opens its edit screen, or Delete removes it |
Search and filters
This list works the same way as every other list in your dashboard. Working with lists explains searching, filtering, sorting, columns and views in full.
The search box finds a menu by its title or its handle.
Menus only has one filter, Status — filter the list by Active or Inactive.
Creating a menu
Press Create menu. Enter a Title for it. The menu items come next.
Every menu has a Handle
Below the Title there is a Handle, made from the title. It is how Biponix connects this menu to your theme.
Adding items
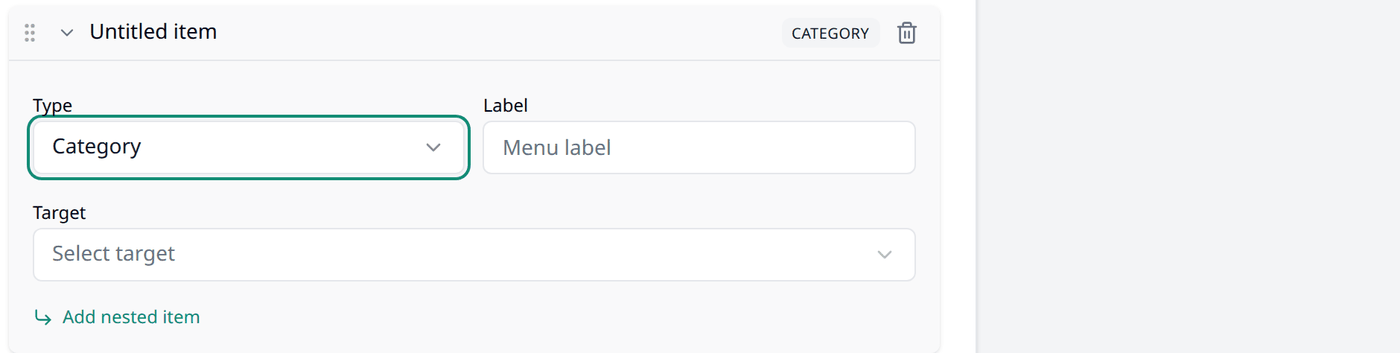
Press Add menu item, then choose a Type:
| Type | What it needs |
|---|---|
| URL | A Label and a URL — type in a web address, to your storefront or elsewhere. |
| Category | A Label and a Target — pick a category. |
| Product | A Label and a Target — pick a product. |
| Collection | A Label and a Target — pick a collection. |
| Page | A Label and a Target — pick one of your Pages. |
| All products | Just a Label. Links to your storefront's products page. |
| All categories | Just a Label. Links to your storefront's categories page. |
| Group | Just a Label. A dropdown sub menu to show whatever items you nest inside it. |
Picking a Target fills the Label with that item's name automatically.
Nesting and reordering
Press Add nested item to put items inside another one. On your storefront, hovering or tapping the top-level item opens the nested ones. You can nest up to three levels deep.
Drag an item by its handle (⋮⋮) to reorder it, at any level.
Press Save when you are done.
Putting a menu on your storefront
Open your theme in the Theme editor, select the header's navigation section, and pick your menu from its Menu setting. Currently this is the only place where you can display your menu.
Removing a menu
Press the row's action button, then Delete.
Deleting an active menu takes it off your storefront immediately
If the menu is Active, deleting it removes it from your storefront right away, and this cannot be undone.